Intro
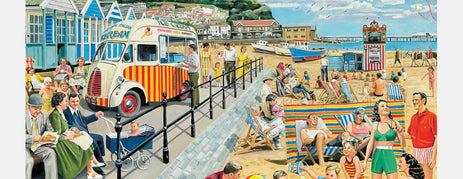
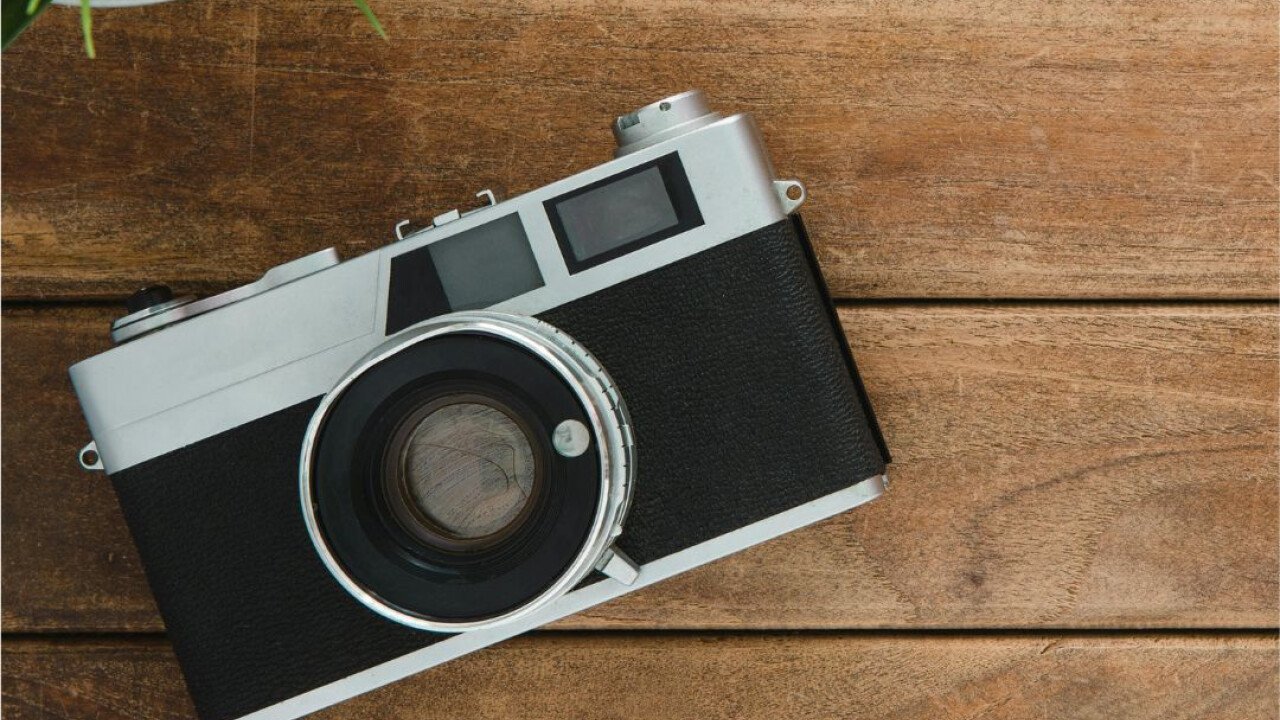
Looking at old photos can bring back happy memories. Imagine how much more special it would be to look at pictures you took yourself. Let's grab a camera and head outside!
If you don't have a camera, no worries. A disposable camera is a great option. Phones work too, but they might be tricky to handle if you have trouble with small things. Or you could ask someone to take pictures for you.
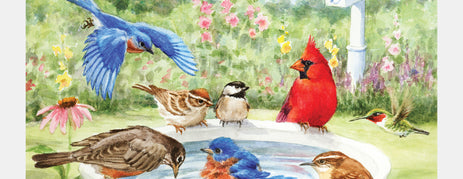
Enjoy the fresh air and take photos of things you like. It could be anything – flowers, trees, buildings, or anything that catches your eye.
Remember, the goal is to create a positive and enjoyable experience. Focus on the process rather than the perfect photo.
This activity will happen over two sessions. First, we'll go outside and take some photos together. Then, we'll get together again to look at the pictures, talk about them, and put them in a special album.
What you need
- Camera (Phone, Camera or disposable)
- Photo album
The Activity
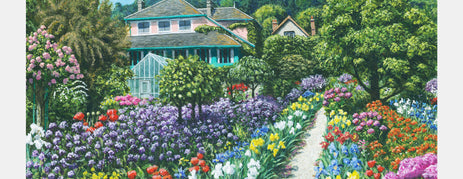
- Choose a familiar location: A park, garden, or nearby natural area the person/group is comfortable with.
- Dress for the weather and choose comfortable shoes.
- Bring along refreshments to enjoy during the activity. Plenty of water, especially if warm.
- Explain the plan, that you are going outside to take pictures of beautiful things in nature.
- Walk slowly and allow plenty of time to enjoy the surroundings.
- Encourage the person/group to look around and point out interesting things they see.
- Use simple language: "Look at that pretty flower!" or "Isn't that tree amazing?"
- Offer physical support if needed, such as holding hands or a gentle arm guide.
- Keep instructions simple: "Let's take a picture of this flower."
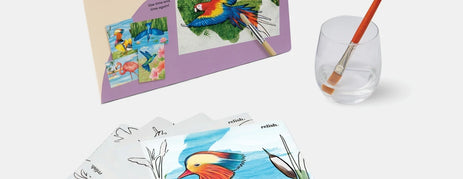
- Help the person/group frame the shot and press the button if needed to take the picture.
- Offer positive reinforcement: "That's a lovely photo!" and allow plenty of time for each photo.
- Once you have developed/printed the photos, these can be shared at the next session.
- Review the photos together.
- Use simple language to describe the photos: "Look at the big tree!" or "Isn’t that a pretty flower?"
- Encourage the person/group to share their thoughts and feelings about the photos.
- Place them in a photo album and label who took them and where. The group can revisit the experience whenever they wish.